
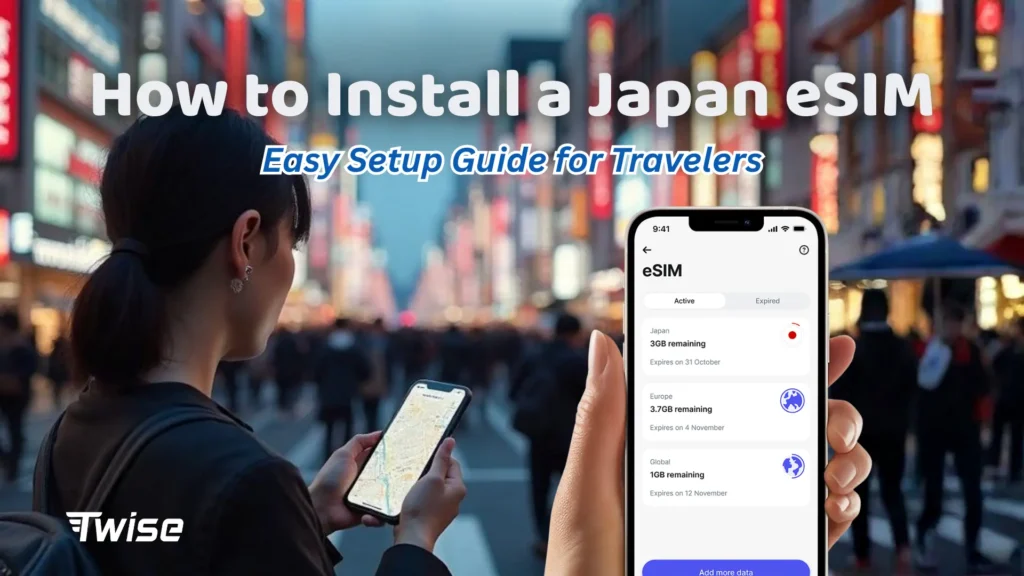
eSIM Install Japan Guide: Easy Setup for iPhone and Android
Feb
Mobile connectivity has become an essential part of traveling in Japan. From navigating complex train systems and translating menus to booking attractions and staying in touch with family, reliable mobile data is no longer optional. This is why eSIMs have quickly become the most popular way for travelers to get connected in Japan.
However, one concern still appears frequently in travel forums and search queries: Is installing a Japan eSIM difficult? Many travelers worry about technical issues, compatibility, or making a mistake that leaves them without internet after landing.
The good news is that eSIM install Japan is usually simple, fast, and beginner-friendly. In most cases, the entire setup process takes only 5–10 minutes.
This guide will walk you through everything you need to know:
- Device compatibility requirements
- Step-by-step installation on iPhone and Android
- The best answer to when to activate eSIM Japan
- Common mistakes and troubleshooting tips
By the end of this article, you should feel confident installing a Japan eSIM before your trip and landing already connected.
I. What You Need Before Installing a Japan eSIM
Before starting the eSIM install Japan process, there are three basic requirements every traveler should check. Skipping these steps is the most common reason travelers run into issues.
a. Check Device Compatibility
Not all smartphones support eSIM technology. Fortunately, most modern phones released in the last few years are compatible.
eSIM-supported devices include:
iPhone
- iPhone XS / XR and newer
- iPhone 11, 12, 13, 14, 15 series
Android
- Samsung Galaxy S20, S21, S22, S23 series
- Samsung Galaxy Z Flip / Fold models
- Google Pixel 3 and newer
- Many recent Xiaomi, Oppo, and Huawei flagship models
How to check quickly
On iPhone:
- Go to Settings → Cellular
- If you see “Add eSIM”, your device supports eSIM
On Android:
- Go to Settings → Connections → SIM Manager
- Look for “Add eSIM” or “Download eSIM”
If this option does not appear, your phone may not support eSIM.
b. Make Sure Your Phone Is Unlocked
A carrier-locked phone cannot use a foreign eSIM, even if the device technically supports eSIM.
What is a carrier lock?
A carrier lock restricts your phone to one specific mobile network. This is common with phones purchased under installment plans or contracts.
How to check if your phone is unlocked
On iPhone:
- Go to Settings → General → About
- Scroll to Carrier Lock
- It should say “No SIM restrictions”
On Android:
- Contact your carrier directly
- Or insert a SIM card from another network and see if it works
If your phone is locked, you must request an unlock from your carrier before traveling.
c. Internet Connection Required for Installation
You will need an internet connection only during installation.
- Wi-Fi or mobile data is required to download the eSIM profile
- Once installed, the eSIM works independently
This is why many travelers prefer to install their Japan eSIM at home before departure.
Read more:
II. When Is the Best Time to Install a Japan eSIM?
One of the most searched questions is when to activate eSIM Japan. The answer depends on how your provider handles activation, but there are clear best practices.
a. Install Before Departure (Recommended)
For most travelers, installing the eSIM before leaving home is the safest option.
Benefits
- Stable Wi-Fi during setup
- No rush or stress at the airport
- Easy access to customer support if needed
In most cases, installing early does not start your plan immediately. The eSIM stays inactive until it connects to a Japanese network.
b. Install After Landing in Japan
Installing after arrival is possible, but it comes with risks.
Pros
- No chance of early activation
- Useful if you forgot to install earlier
Cons
- Airport Wi-Fi may be slow or crowded
- Language barriers if troubleshooting is needed
- Stress after a long flight
For first-time travelers, installing beforehand is strongly recommended.
c. Activation Timing Explained
Understanding when to activate eSIM Japan is critical.
There are two common activation methods:
- Activation upon network connection in Japan
- Activation immediately after installation
Most travel eSIMs activate when they first connect to Japanese networks, not when installed. This is why reading provider instructions carefully is important.
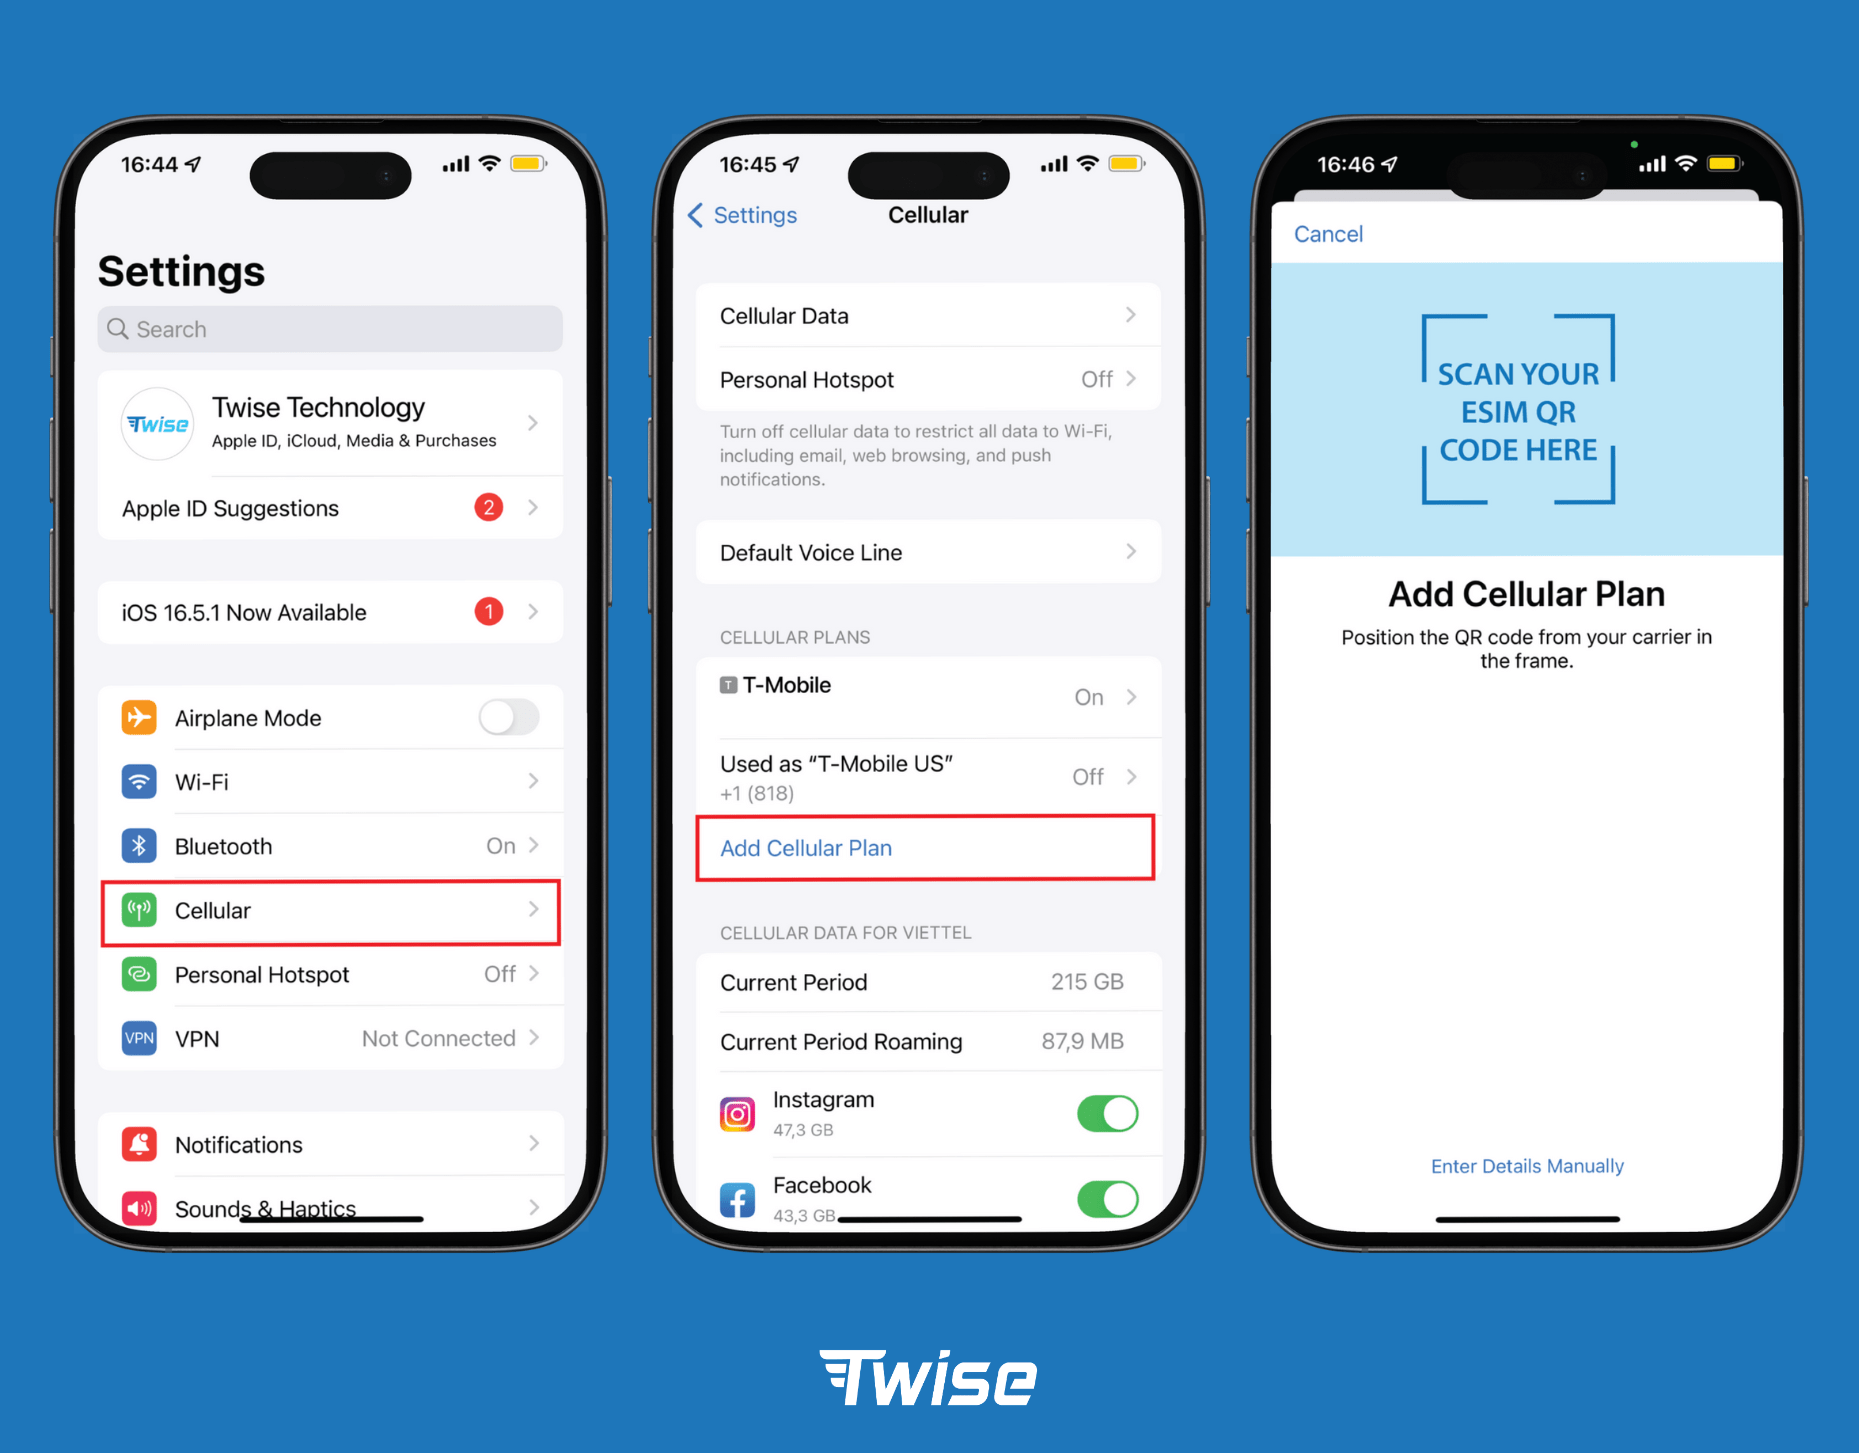
III. How to Install a Japan eSIM on iPhone (Step-by-Step)
a. QR Code Installation (Most Common Method)
This is the standard method used by most Japan eSIM providers.
Steps
- Open Settings → Cellular
- Tap Add eSIM
- Select Scan QR Code
- Scan the QR code provided by your eSIM provider
- Label the eSIM (e.g., “Japan eSIM” or “Twise Japan”)
- Choose it as your Cellular Data line
Once completed, the eSIM profile is downloaded and stored on your phone.
b. Manual Installation (If QR Code Fails)
Sometimes QR codes fail due to screen brightness, camera focus problems, or device compatibility issues.
Manual setup requires
- SM-DP+ address
- Activation code
These details are provided by the eSIM seller upon request.
c. iPhone Configuration Tips
After installation:
- Turn Data Roaming ON for the Japan eSIM
- Keep your primary SIM active for calls and SMS
- Disable Low Data Mode to ensure full speed
These settings ensure smooth connectivity after landing.
IV. How to Install a Japan eSIM on Android (Step-byStep)
a. QR Code Installation
Steps may vary slightly by brand, but the general process is similar.
Steps
- Go to Settings → Connections
- Tap SIM Manager
- Select Add eSIM
- Choose Scan QR Code
- Download the eSIM profile
b. Manual Setup (Advanced Users)
During a manual eSIM install Japan, you will enter the activation code and the server (SM-DP+) details provided by the eSIM provider.
This method is usually reserved for troubleshooting.
c. Android-Specific Tips
- Enable Data Roaming
- Select the correct eSIM as the data SIM
- Restart the phone if the signal does not appear
Android devices often require a reboot to register new network settings.
V. Troubleshooting: Japan eSIM Not Working
a. No Signal After Landing
Try the following:
- Confirm data roaming is enabled
- Restart your phone
- Manually select a Japanese network
b. eSIM Installed but No Internet
Common fixes:
- Disable any VPN
- Check APN settings (usually automatic)
- Reset network settings
c. QR Code Not Scanning
Possible solutions:
- Increase screen brightness
- Print the QR code
- Request manual installation details
d. When to Contact Customer Support
Prepare:
- Phone model
- iOS or Android version
- Screenshots of settings
Clear information speeds up support resolution significantly.
VI. Can You Install Multiple eSIMs for Japan?
Yes, most modern phones support multiple eSIM profiles.
Key points
- You can store multiple eSIMs but use one data line at a time
- iPhones typically store up to 8 eSIM profiles
- Android storage limits vary by manufacturer
This allows travelers to keep:
- One eSIM for Japan
- One SIM or eSIM for their home country
VII. Where to Buy a Japan eSIM That’s Easy to Install
a. Local Network-Based eSIMs via Twise (SoftBank / KDDI / Docomo)
Twise stands out as one of the strongest Japan eSIM providers for travelers who want true domestic network performance, not roaming-based data:
- True domestic Japan eSIM
Twise works directly with Japanese carriers, especially KDDI (AU) — not via international roaming aggregators. This ensures:- Lower latency
- Higher network priority
- More stable speeds during peak hours
- KDDI (AU) as the core network partner
KDDI is Twise’s flagship Japan product, offering:- Fast and stable 4G/5G speeds
- Excellent performance in subways, indoor areas, and transport routes
- Strong coverage beyond major cities, unlike many roaming eSIMs
- Fast technical handling & instant QR delivery
Thanks to direct carrier integration, Twise delivers:- QR code within 1–2 minutes after payment
- Faster technical troubleshooting compared to reseller platforms
- Flexible 10GB plans with real-world usability
- Uses SoftBank, KDDI (AU), or Docomo depending on the plan
- Strong nationwide coverage across: Tokyo, Osaka, Kyoto, and Regional areas and transport corridors
- Ideal for tourists using:
- Google Maps & Apple Maps
- Messaging apps (LINE, WhatsApp)
- Browsing, email, and daily travel needs
- Better value than most international travel eSIMs
Twise positions KDDI plans at a sweet spot — offering better speed and stability than cheap roaming eSIMs, without the inflated pricing of premium international brands.
With transparent pricing, domestic carrier access, and excellent technical reliability, Twise’s 10GB Japan eSIM is a safe, high-performance choice for travelers who want their internet to work the moment they land.
Why installation is easy
- Direct web purchase
- QR code delivered by email
- No app required
- Clear instructions
This setup is ideal for travelers who prefer browser-based installation rather than app-only solutions.

VIII. Safety Tips When Installing a Japan eSIM
- Never share your QR code
- Install on only one device
- Save confirmation emails
- Avoid public Wi-Fi during payment
These steps prevent accidental deactivation or misuse.
Installing a Japan eSIM is far easier than most travelers expect. With proper preparation, most users complete setup in just a few minutes. Understanding esim install Japan steps and knowing when to activate eSIM Japan eliminates nearly all common issues.
Choosing a provider with:
- Clear installation instructions
- Reliable customer support
- Strong local network routing
makes the experience even smoother. For stress-free travel, install your Japan eSIM before departure, land with confidence, and stay connected from the moment you arrive.
Twise’s customer support is available 24/7 to assist you. You can contact them through the official channels below for immediate help:
– Facebook Fanpage: Twise
– Email: support@twise.tech
– WhatsApp: (+1) 818-915-0777